
The Sailor’s Cap
Hello Sailor!
This style suits steamed gyoza perfectly. Good for Italian and Eastern European dumplings too. And it’s super easy…

1. Lay 3-4 wrappers on a board. Cover the remaining wrappers with a wet tea towel so they don’t dry out. Fill a small bowl with water. Dip fingers in water and wet the edges of the wrapper.

2. Add a heaped teaspoon of filling in the middle of the wrapper. Fold the wrapper in half.

3. Make a groove in the base of the dumpling.

4. Wet one end of the semi-circle with water and fold to the middle. Overlap with the other end. Press together to complete the ‘hat’.

5. Continue pleating to the other end. The near side should be flat and the far side pleated. Make sure it’s well-sealed with no air bubbles (they trap water).

Oishii.
Homemade Gyoza Wrappers
Homemade gyoza wrappers. Not next level.
Sounds next level, but it’s no big deal. If you’ve got time, say like you’re in lockdown and have already made a lifetime’s worth of sourdough, give these a burl (やってみる). Plain flour, water and salt. That’s it. And maybe some voltaren for the back if you haven’t been to the gym for a while. Kneading is this year’s barre.
Ingredients
300g plain flour (or 2 x 250ml cups)
80ml just boiled water
80ml cold water
Big pinch of slat

1. Sift and combine flour and salt. Mix well with fork or chopsitcks.

2. Add water. Pour in 80ml boiled water and stir until it forms a crumbly mix. Then add 80ml cold water. Mix until all water absorbed.
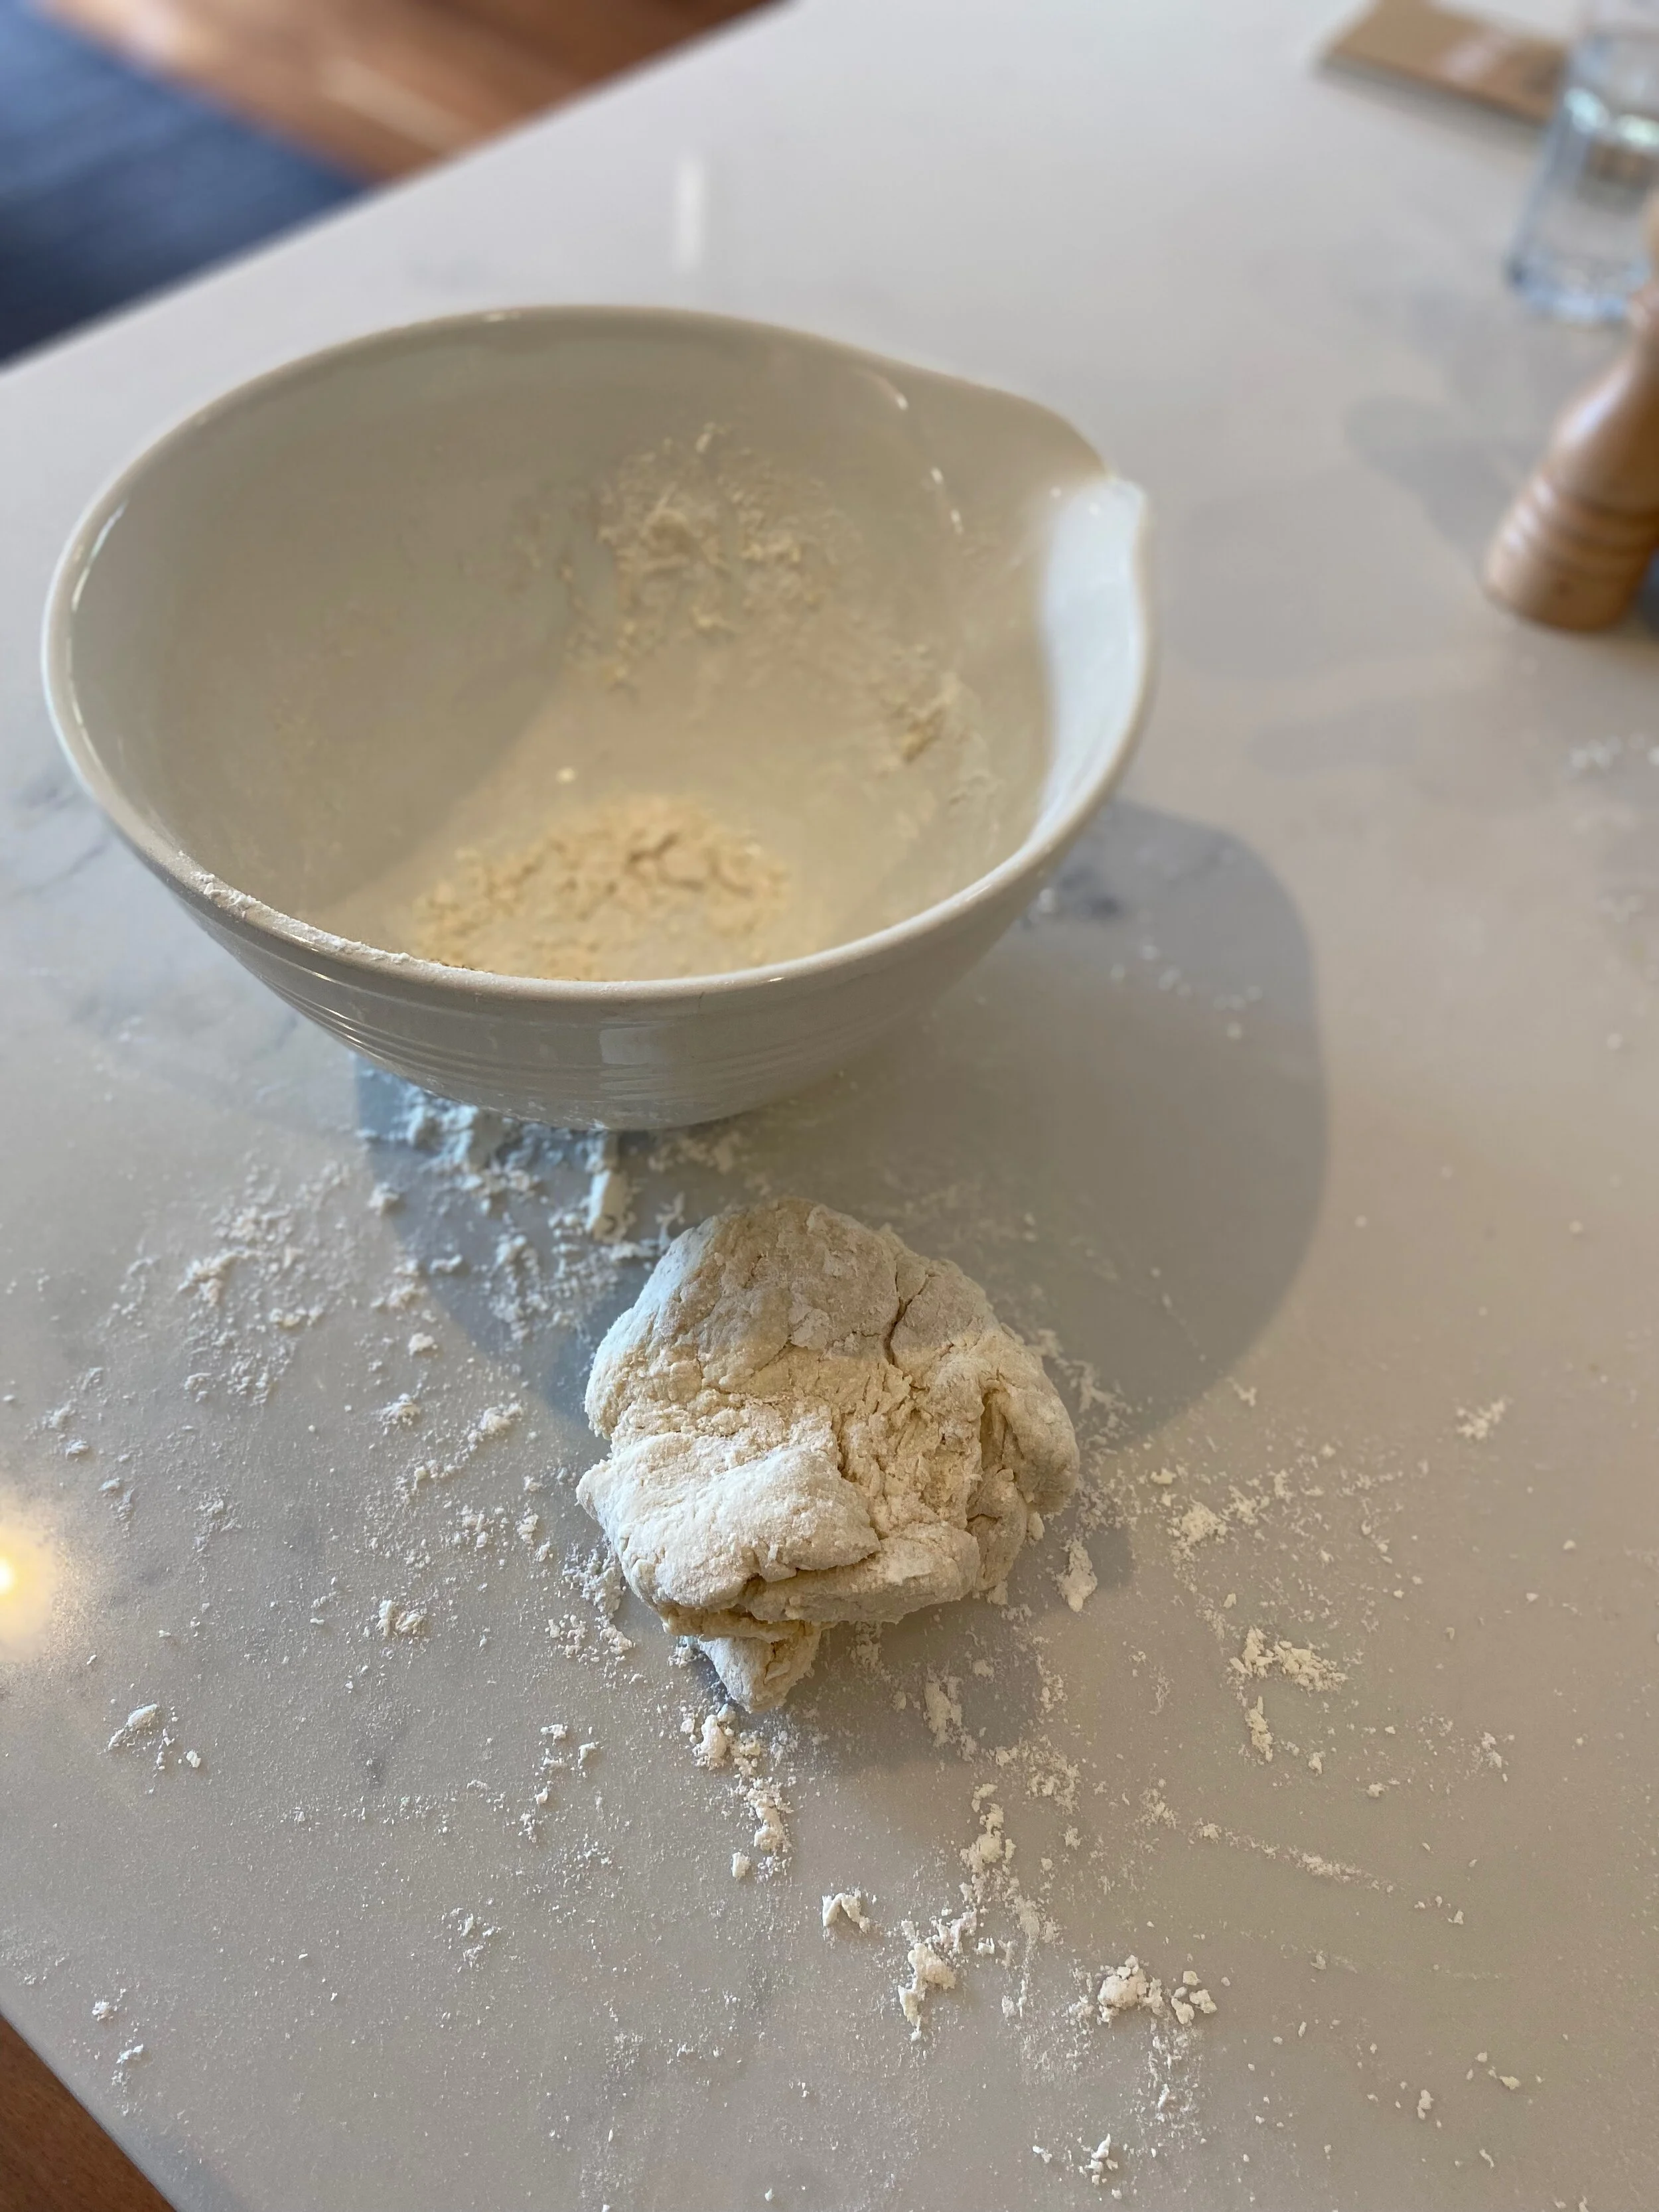
3. Knead it. First, knead in the bowl until a ball starts to form.

4. Knead it more. Knead the dough on a floured surface for 5-10 minutes until it’s smooth, soft and stretchy. Cover in plastic wrap or a zip lock bag and leave out at room temperature for up to an hour before use. You can store in the fridge for use later, for up to 48 hrs.

5. Portion it. Break your dough into three portions. Use one portion at a time - cover the remainder so it doesn’t dry out. Roll out the dough with your hands into a long sausage shape. Cut in half. Then cut that half into 5 small pieces.

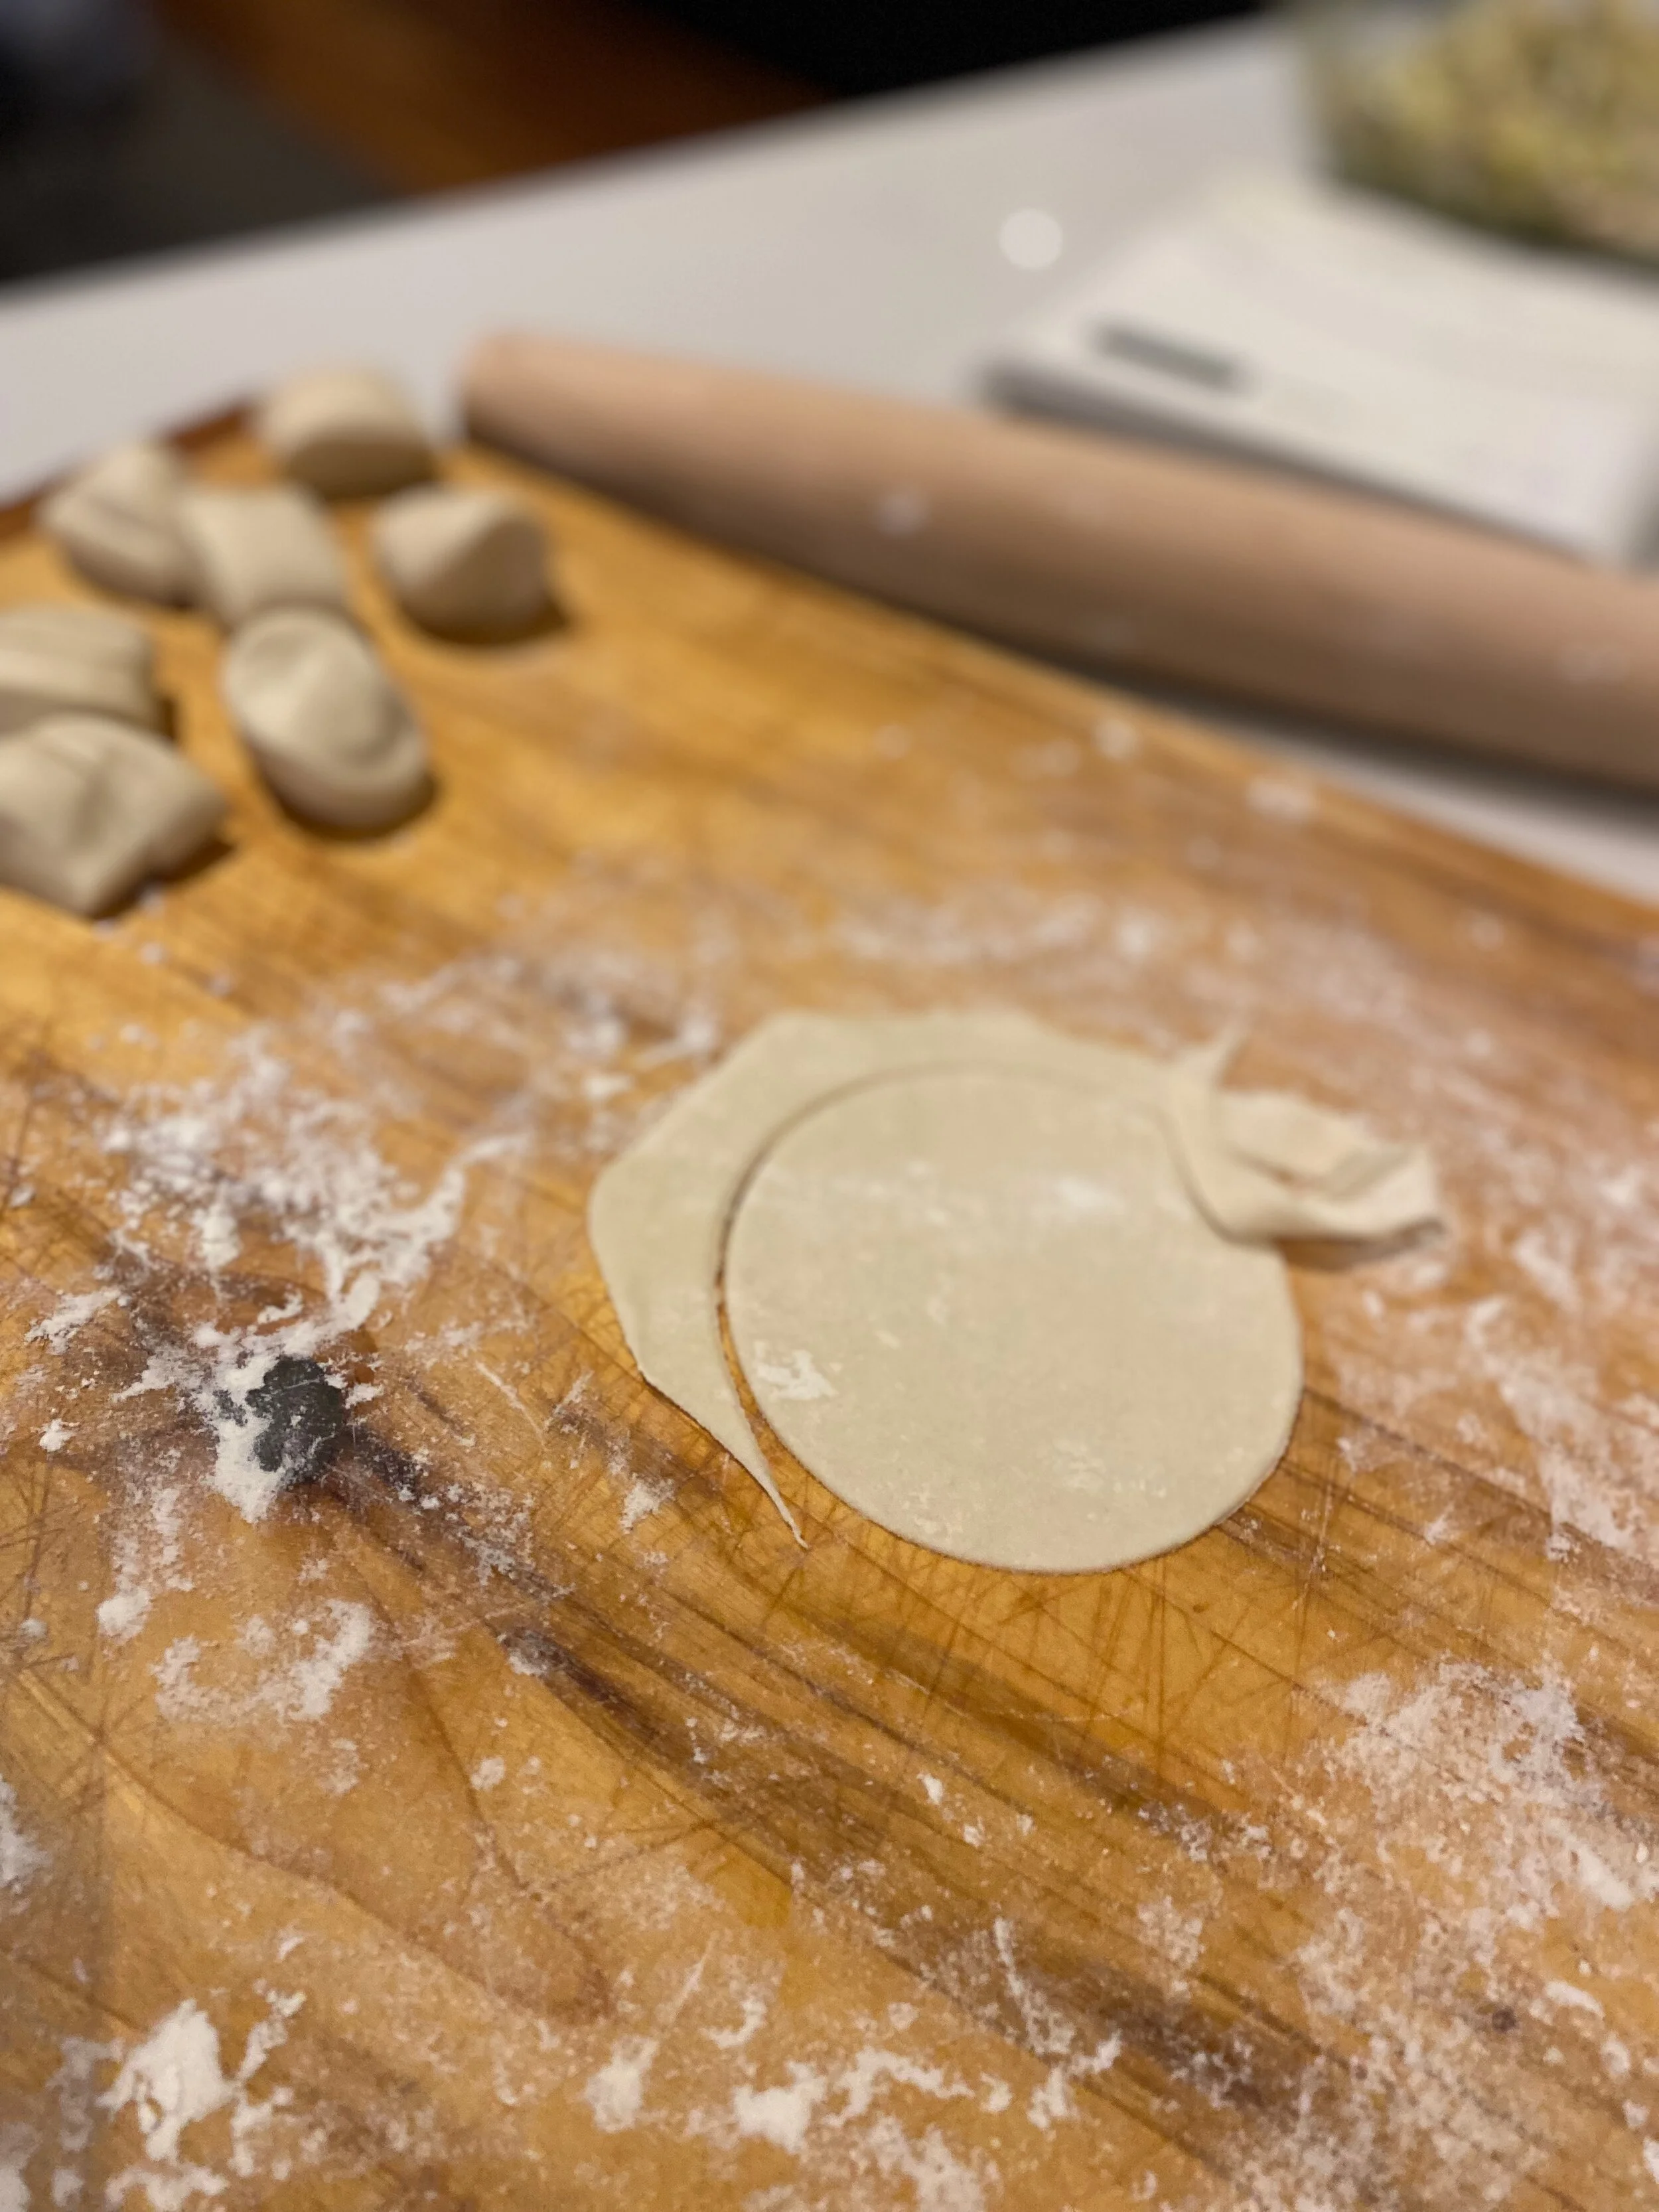
6. Roll it. Roll out the dough portions into 10cm or so flat wrappers. Work from the middle out, so the edges are thinner than the centre. Use a cutter if you want a nice shape (you can buy a dumpling cutter, or just use an egg poaching ring or the rim of a cup). Make sure there’s a light dusting of flour on the board and rolling pin. Lay them out between baking paper sheets until you’re ready to fill. Oishii.

The Double Pleat Crescent
The Crescent Hack.
A gyoza wrapping hack. If you’re finding The Crescent difficult, try this. The result is a straight sealed and pleated edge (like a Cornish pastie), which you can bend into a crescent gyoza shape if that’s important to you. Remember, it all tastes the same.

1. Lay 5-6 wrappers on a board. Cover the remaining wrappers with a wet tea towel so they don’t dry out. Fill a small bowl with water. Dip fingers in water and wet the edges of the wrapper.

2. Add a heaped teaspoon of filling in the middle of the wrapper.

3. Fold it in half.

4. Press down and seal the pleat. Make sure it’s well-sealed with no air bubbles.

5. Make a pleat in the middle and then two more working to the end. Turn the gyoza around and make two more pleats out to the other end.

Oishii.

The Crescent
The Crescent.
The traditional gyoza shape. Flat on one side, pleated on the other. Perfect for lining ‘em up in a row, or in a flower blossom spiral. Here’s how. Don’t be put off, it’s not hard…
1. Lay 5-6 wrappers on a board. Cover the remaining wrappers with a wet tea towel so they don’t dry out. Fill a small bowl with water. Dip fingers in water and wet the edges of the wrapper.

2. Add a heaped teaspoon of filling in the middle of the wrapper. Fold over the filling with about 1/3 of the near side wrapper.

3. Hold the wrapper in your palm and pinch it at one end (I’m right handed, so I start from the left).

4. Starting from the pleated end use your index fingers to make a S-shaped pleat, pushing the far side edge behind and to the left. Press down and seal the pleat.

5. Continue pleating to the other end. The near side should be flat and the far side pleated. Make sure it’s well-sealed with no air bubbles (they trap water).

6. Place each gyoza on floured plate or board. Push them down gently to make a flat bottom. Cover with plastic or a wet cloth.

Oishii.