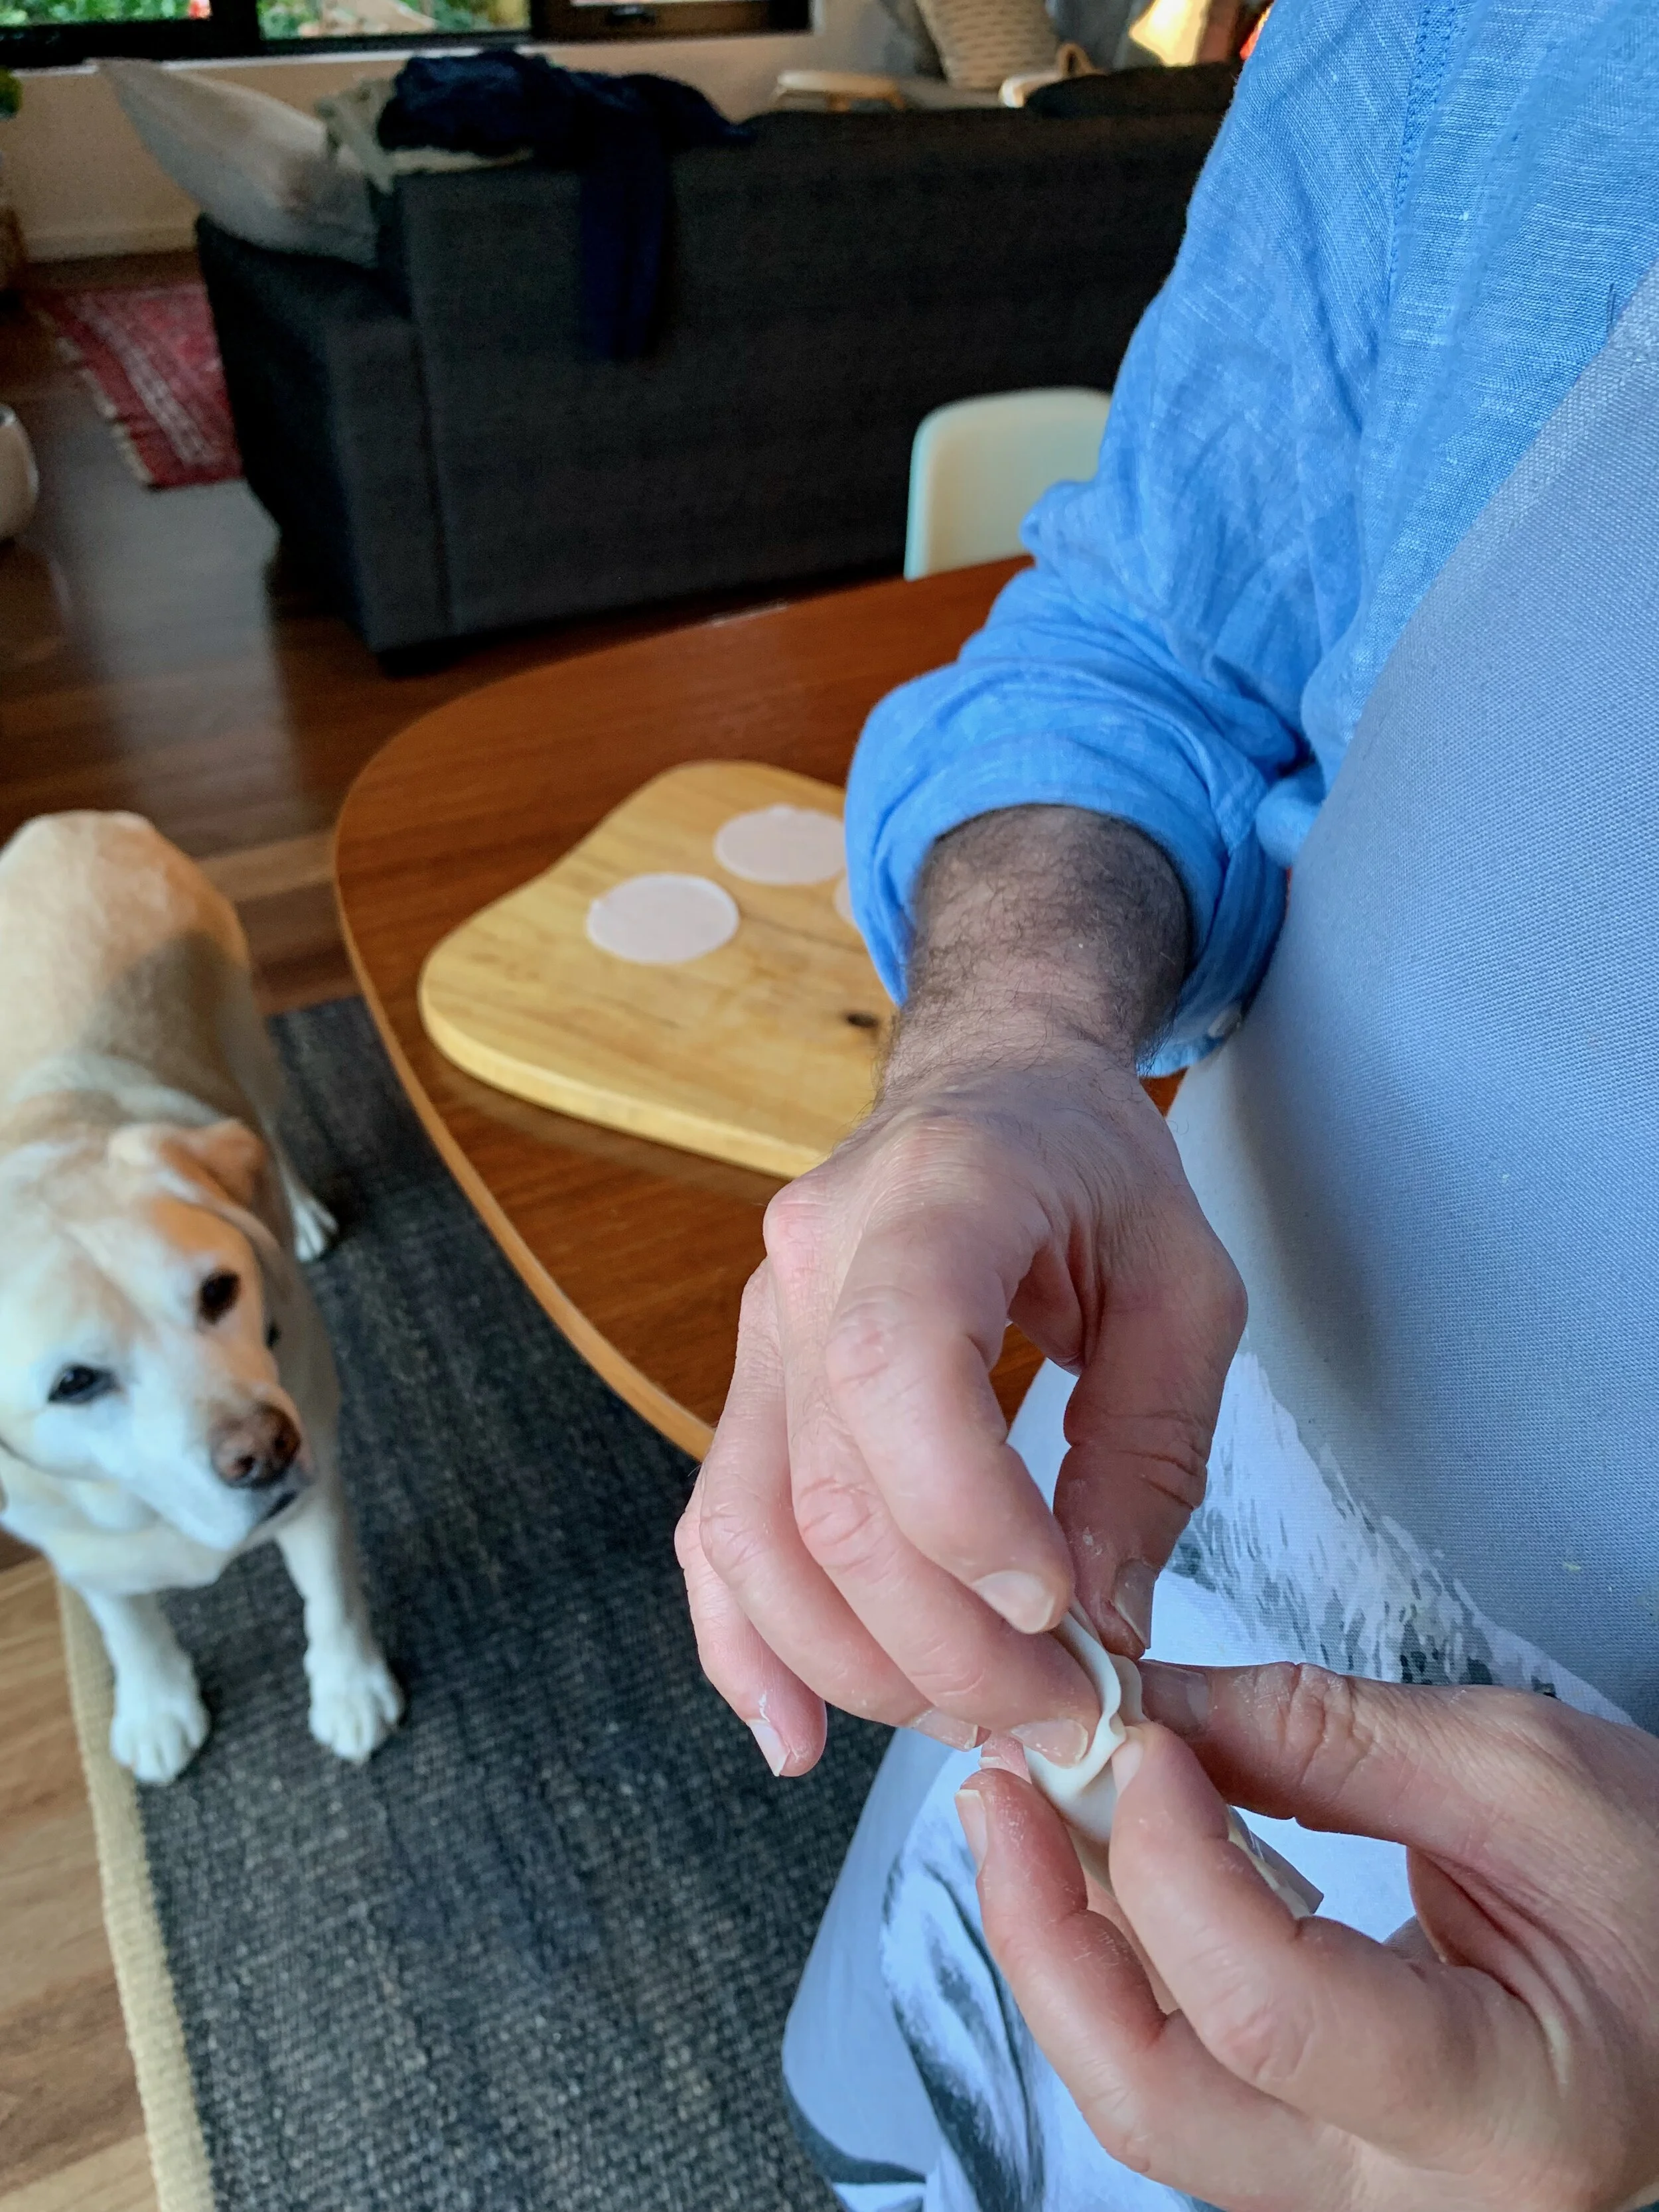
The Crescent
The traditional gyoza shape. Flat on one side, pleated on the other. Perfect for lining ‘em up in a row, or in a flower blossom spiral. Here’s how. Don’t be put off, it’s not hard…
1. Lay 5-6 wrappers on a board. Cover the remaining wrappers with a wet tea towel so they don’t dry out. Fill a small bowl with water. Dip fingers in water and wet the edges of the wrapper.
2. Add a heaped teaspoon of filling in the middle of the wrapper. Fold over the filling with about 1/3 of the near side wrapper.
3. Hold the wrapper in your palm and pinch it at one end (I’m right handed, so I start from the left).
4. Starting from the pleated end use your index fingers to make a S-shaped pleat, pushing the far side edge behind and to the left. Press down and seal the pleat.
5. Continue pleating to the other end. The near side should be flat and the far side pleated. Make sure it’s well-sealed with no air bubbles (they trap water).
6. Place each gyoza on floured plate or board. Push them down gently to make a flat bottom. Cover with plastic or a wet cloth.
Oishii.


